Cleaning Tips
It is important that your chicken coop stays clean. Having a clean coop and yard is one of the best ways to keep your flock healthy and free of disease. Cleaning the coop does not need to be a big, time-consuming chore you do on a daily basis. With a little effort and regular weekly maintenance, you can easily get the job done in about 30 minutes or less when it does come time to clean the coop!
You do not need to clean the coop out once a week, just check on it to make sure you don't have a broken egg, manure in the water, etc. A "deep cleaning" is good to do about twice a year and requires alittle more time.
By maintaining the coop, specifically the roosting boxes every few weeks, you are helping prevent illness and increase egg production by giving your hens an environment they can thrive in. I have been happy with a weekly checklist to maintain and keep my coop clean. Always deep clean a coop each time you get a new flock! We keep our hens for three years and then sell them to get new chicks. It is so important the coop is disinfected for your new hatch.
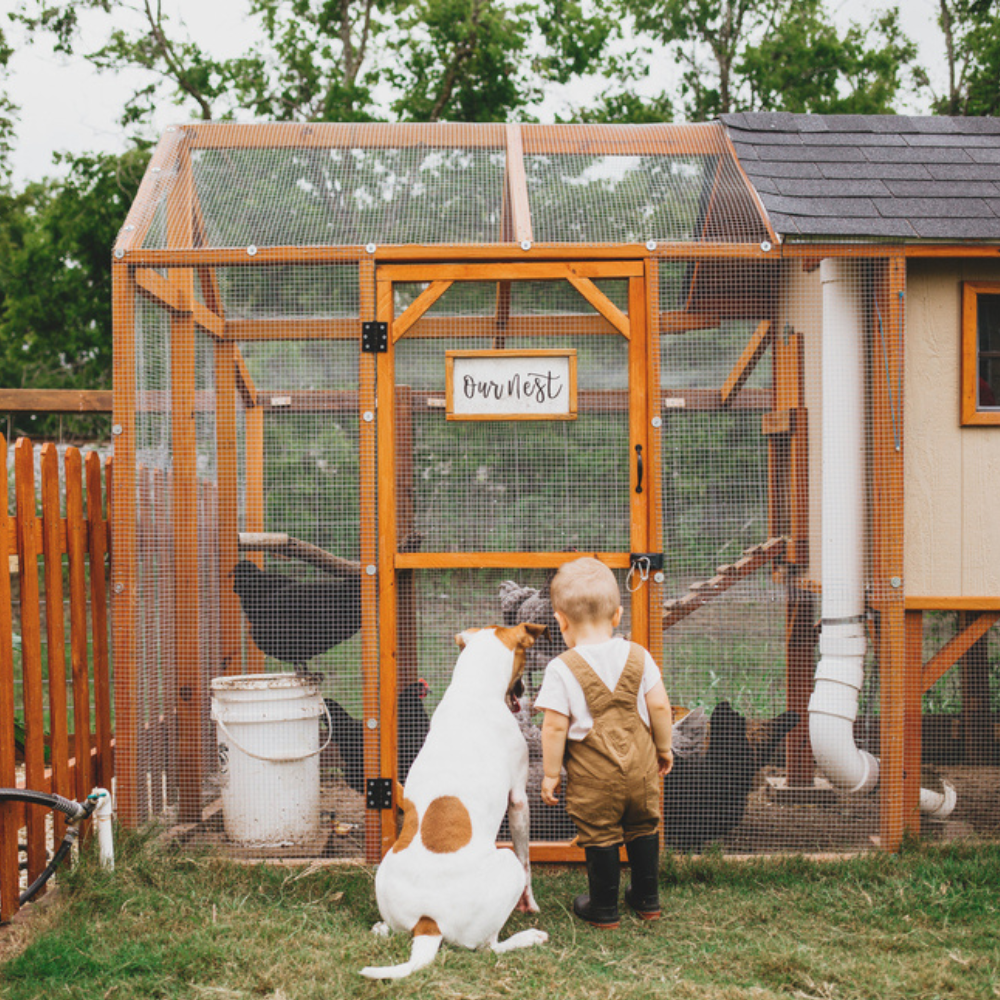
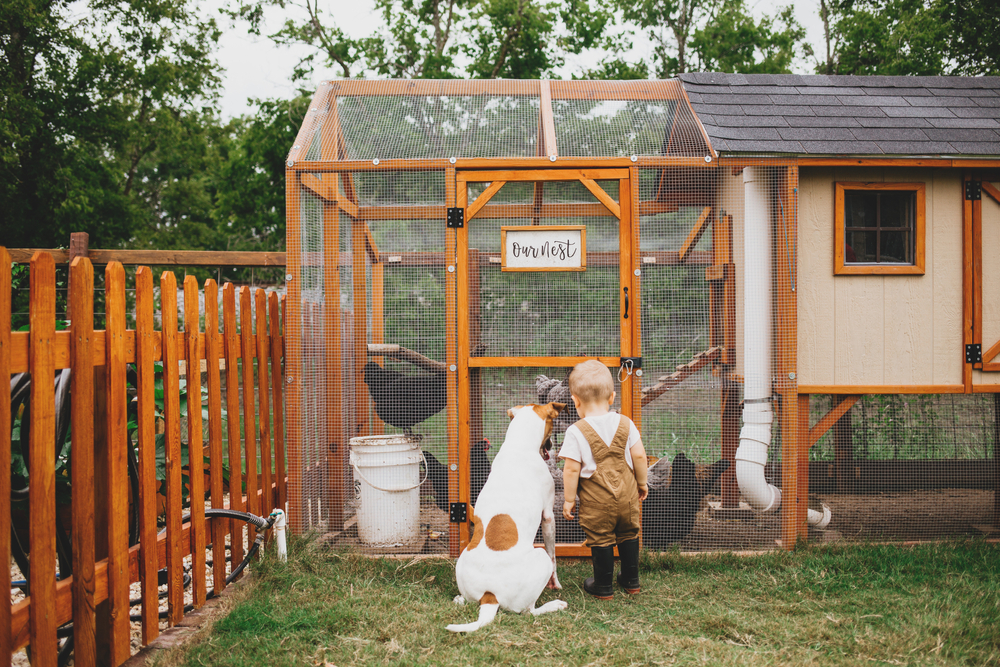
*Our coops are designed to make the cleaning process easier and discourage mice from entering the coop.
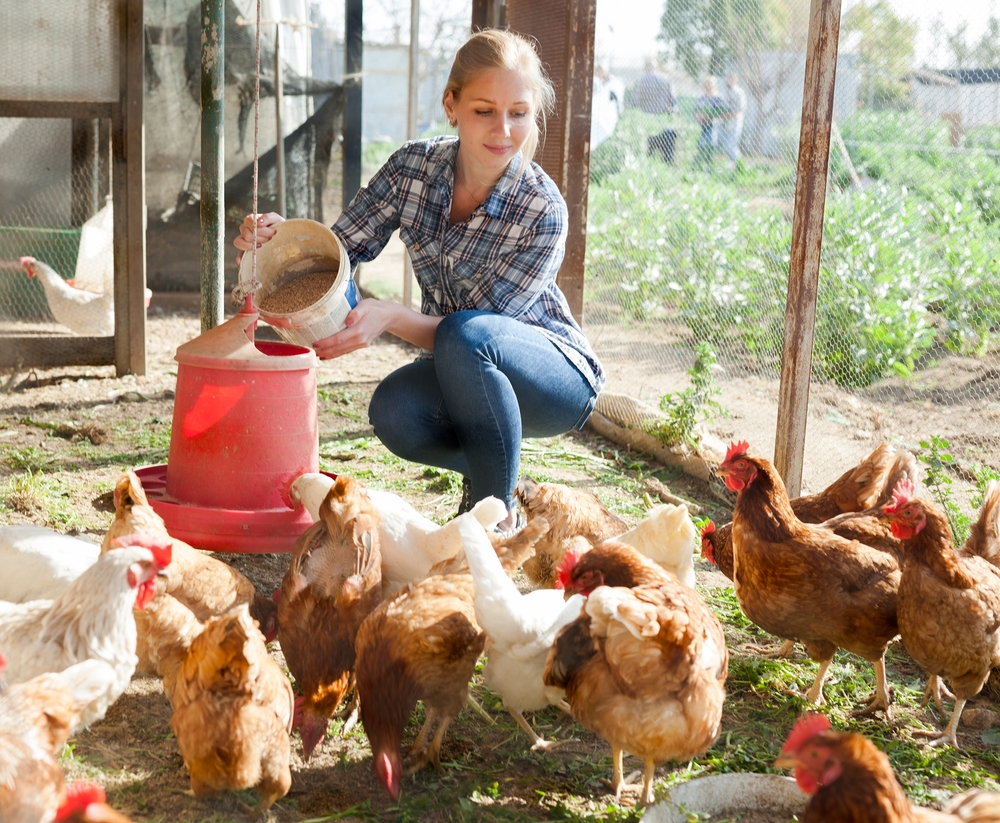
*Store your bags of feed and chicken scratch in barrels with lids, to keep rodents and wild birds out!
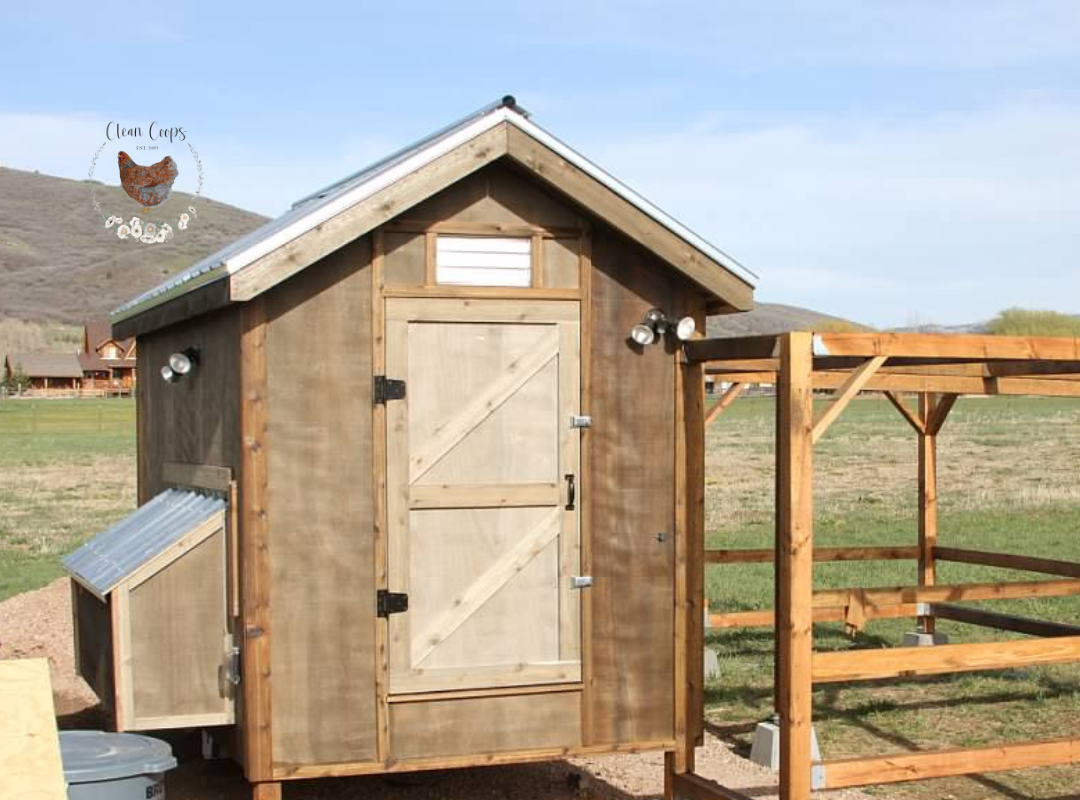
The first thing I do when cleaning my coop is to check and see how the floor is doing. I let my hens out every day so I can go longer before I have to change all the shavings on the floor, (once every two or three months. If your chickens free range during of the day, you can go every 6 months if you want and clean your coop right before winter sets in.)
My coop floor stays cleaner because most of the manure collects in the roosting boxes that are in the coop. (Wherever hens roost, that is where the manure is.) There is nothing to fear with chicken manure...it does not keep its odor mixed with shavings because of how quickly it dries and makes wonderful compost! The longer it sits, the more it crumbles, so I go out occasionally to "stir" the manure into the shavings with a metal rake. This will help prolong the time between cleaning and you can check the floor to make sure it is staying dry.
I love being able to clean my floor while standing outside my chicken coop. I can reach all the way across without bending down and it is a quick easy process for me. I have changed the shavings in my coop while being 8 months pregnant (without going into labor) so that is saying something! Lol!
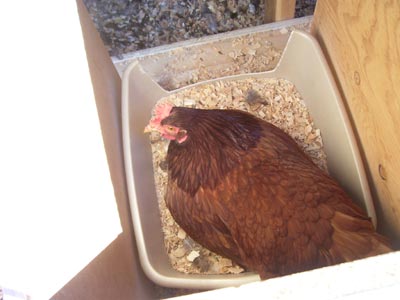
The next thing I do is to look into my roosting boxes to see how full they are. I love dumping the manure out each three or four weeks and making a compost pile for the garden. The roosting boxes are made of plywood so they can get quite heavy from the manure if left unchecked and uncleaned. Roosting boxes are easy to lift in and out of the coop when cleaned every month or so. Put a thin layer of shavings on the bottom of the roosting boxes, this helps manure to fall out easily when dumping the boxes.
I wear gloves when cleaning and a little paint mask so I don't breathe in the dust from the feces and food grade DE that I put in the shavings. Always do the best you can to keep the shavings on the floor of the chicken coop dry. If you notice any wet spots, replace it with dry shavings.
Cleaning the Feeders
Each month when I empty my roosting boxes, I clean my water feeder. It is a good idea to disinfect the feeder with a little soapy water and then rinse it clean. It takes about 5 minutes to wash out your water feeder. Chickens should always have fresh water, especially when laying. I get top covers for my feeders so the hens cannot accidentally defecate or scratch shavings into the water or food. I made my covers from some left over vinyl we had from a project. I shaped the covers like a funnel, leaving a hole at the top for the chain to go through and fit them over the top of the feeders. You can also purchase feeder covers from your local farm supply store or online.
If you do not want to hang your feeders, you can make little platforms for the feeders to sit on the coop floor. This can also make refilling the feeders easier by just lifting water and food in and out of the coop.
Make sure the platforms are high enough the hens cannot scratch or defecate in the feeders (as high as the saddle of their back) so they are still able to reach the food and water. I prefer hanging my feeders on a chain with a removable clip because I don't want to worry about them tipping over. I only remove my water for refilling. I can refill the food bucket by dumping new feed through the top without taking the feeder out of the coop. Occasionally, you can take out the food feeder and clean it as needed or when you are doing your deep cleaning.
Deep Cleaning the Coop
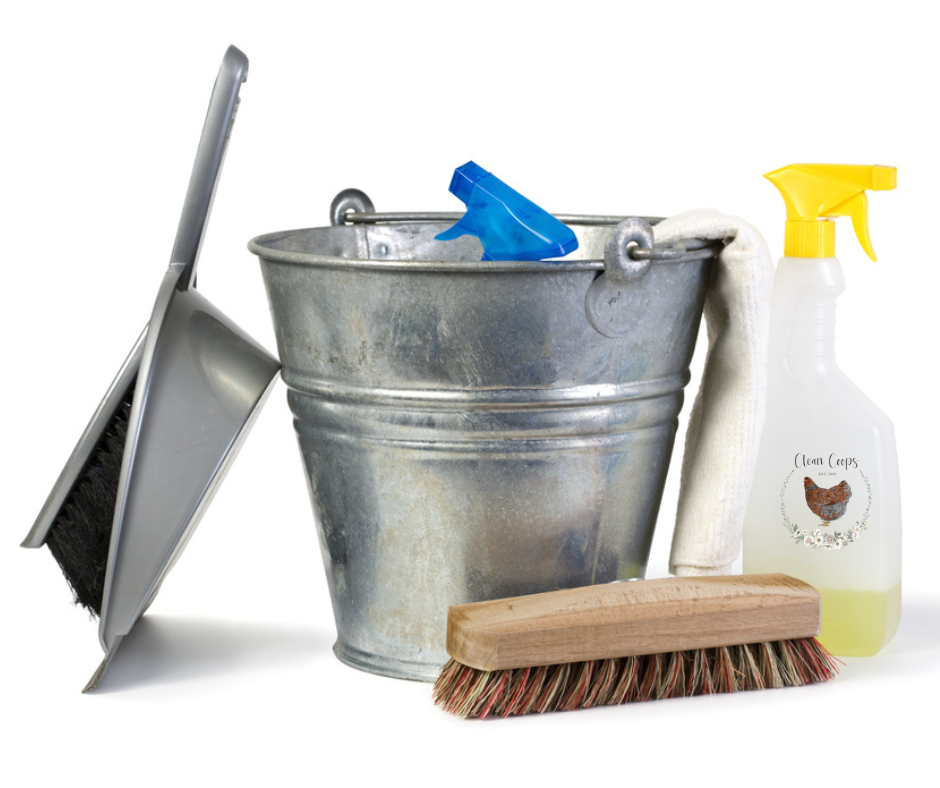
Once a year, I do a very deep cleaning of my Daisy Coop. Chickens like everything really dry, so I do not worry about bacteria building up. The shavings I use on the coop floor help absorb any moisture and the ventilation keeps it dry. Using a deep litter system works well for me. I turn the shavings over occasionally to bring any moisture to the top and it dries out quickly. Before the winter sets in, I pull ALL the shavings out with a broom. A smaller brush and dustpan make it easy to clean the corners. After all the shavings are out, I use bleach water in a spray bottle or dip my scrubber in a bucket of bleach water to scrub down the inside of the doors, nest bins and roost boxes as needed. (Bleach should be used before replacing your flock with a new one to prevent disease.) The coop floor rarely has any manure at all because it is protected by the shavings. After a good scrub down, I leave the doors open in the back to air out the entire coop and completely dry. Once the wood is DRY, you can pile 6" of shavings to the floor and 2-3" inches to the roost and nest boxes.
Protecting the Coop Floor
To protect my wood floor, I've used a coat of exterior waterproof primer followed by a nice thick layer of wood shavings. Just the shavings by itself will absorb most of the moisture to keep the wood floor dry underneath. I do not use paint on the inside of my coop because I don't want the chickens pecking it if the paint ever peels. I love adding food grade Diatomaceous Earth to my coop floor before I spread the shavings. I use a mustard/ketchup refill bottle to line the corners and edges of the coop with DE. After laying down fresh shavings, a light sprinkle of DE with a wire colander or flour sifter all over the coop floor keeps the odors down, flies and mites under control, and the inside of the coop dry!
Another way to protect the floor is to use a self leveling compound that is safe for the type of wood you have.
I have not done this method myself but have heard of some people that do it...you could look into that as an option. Be careful using other things that might make the floor slippery for the hens (they can actually break their legs when jumping down from the roost if the floor is slippery.) I try to discourage types of flooring from being installed because you risk moisture getting trapped between layers and rotting your plywood. A wood floor that can dry quickly has worked the best for us.
**After constructing your coop, paint the outside with 2 coats of exterior grade paint to protect the wood!
Protecting The
Coop Floor
To protect my wood floor, I've used a coat of exterior waterproof primer followed by a nice thick layer of wood shavings. Just the shavings by itself will absorb most of the moisture to keep the wood floor dry underneath. I do not use paint on the inside of my coop because I don't want the chickens pecking it if the paint ever peels. I love adding food grade Diatomaceous Earth to my coop floor before I spread the shavings. I use a mustard/ketchup refill bottle to line the corners and edges of the coop with DE. After laying down fresh shavings, a light sprinkle of DE with a wire colander or flour sifter all over the coop floor keeps the odors down, flies and mites under control, and the inside of the coop dry!
Another way to protect the floor is to use a self leveling compound that is safe for the type of wood you have.
I have not done this method myself but have heard of some people that do it...you could look into that as an option. Be careful using other things that might make the floor slippery for the hens (they can actually break their legs when jumping down from the roost if the floor is slippery.) I try to discourage types of flooring from being installed because you risk moisture getting trapped between layers and rotting your plywood. A wood floor that can dry quickly has worked the best for us.
**After constructing your coop, paint the outside with 2 coats of exterior grade paint to protect the wood!

Follow Us
Company
More
Legal
Copyright 2026. Clean Coops. All Rights Reserved.
Follow Us
Company
More
Legal
Copyright 2026. Clean Coops. All Rights Reserved.